Installation
Every FPGA board supported by LiteX can host LiteInjector. The examples use a Digilent Basys3, an inexpensive board common in education, and a Digilent Arty-A7 100T for the Linux example, which needs more memory than the Basys3 provides.
The host controls the emulator through a LiteX bridge. The examples use a dedicated UART bridge (UARTBone) that only needs two GPIOs, so it fits on any board. Ethernet or any other LiteX bridge works as well.
Install
Section titled “Install”-
Install LiteX with its setup script. The
--configparameter selects the set of LiteX modules (minimal,standardorfull).Terminal window $ wget https://raw.githubusercontent.com/enjoy-digital/litex/master/litex_setup.py$ chmod +x litex_setup.py$ ./litex_setup.py --init --install --config=standard --tag=2022.08 -
Install LiteInjector and the build tools LiteX needs to compile the SoC software.
Terminal window $ git clone https://github.com/labsticc-arcad/LiteInjector.git liteinjector$ pip install -r liteinjector/requirements.txt$ pip install -e liteinjector -
Install the RISC-V toolchain used to compile the software of the example SoCs.
Terminal window $ ./litex_setup.py --gcc=riscv -
Check the installation by simulating a LiteX SoC with a VexRiscv CPU.
Terminal window $ sudo apt install libevent-dev libjson-c-dev verilator$ litex_sim --cpu-type=vexriscv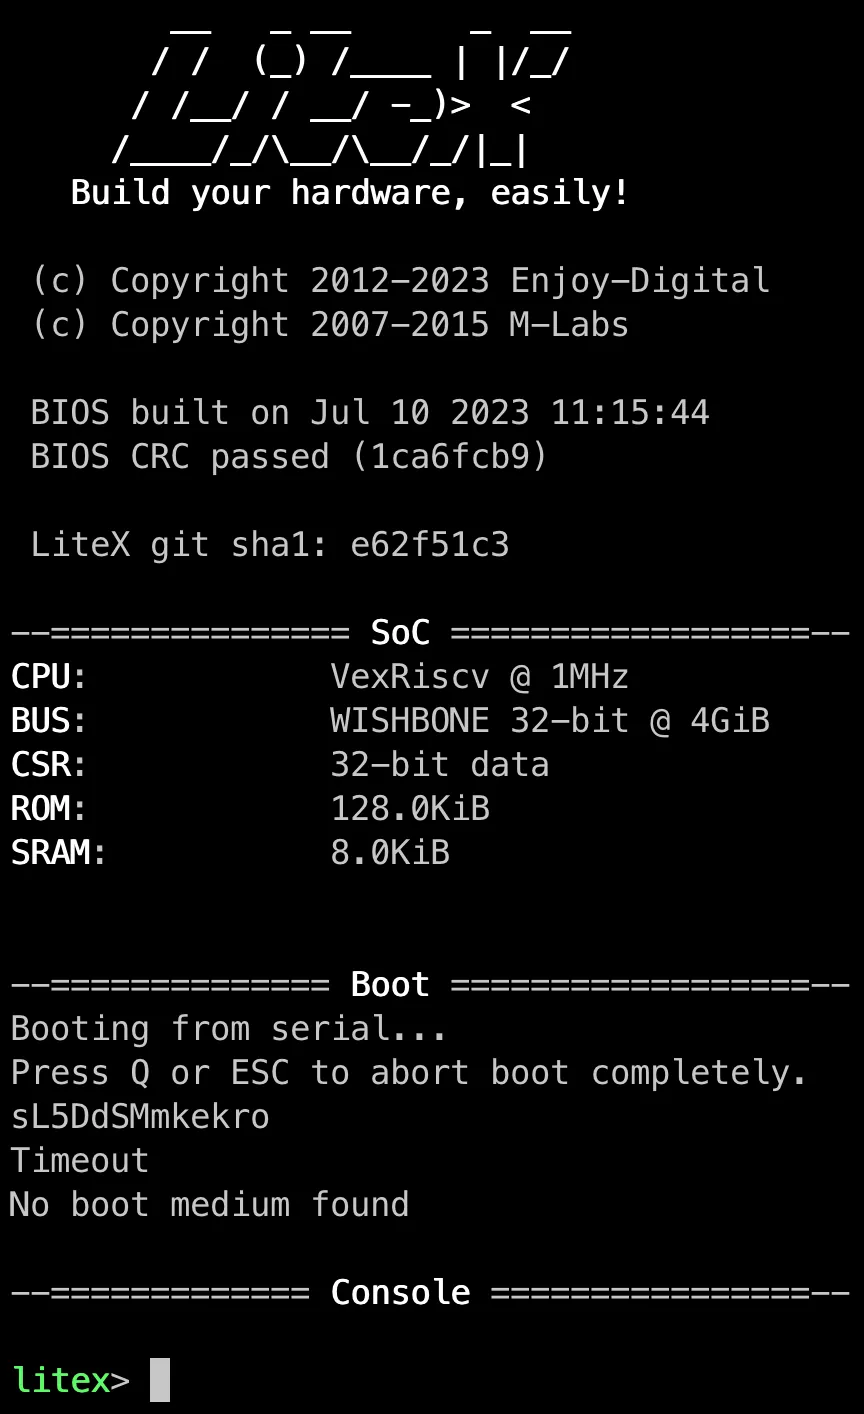
Run the tests
Section titled “Run the tests”The LiteInjector gateware and host software are tested in simulation, no FPGA needed:
$ pip install pytest$ python3 -m pytest liteinjector/testNext: your first injection.